Never Embarrass Yourself on a Call Again: The Ultimate Pre-Meeting Webcam Checklist
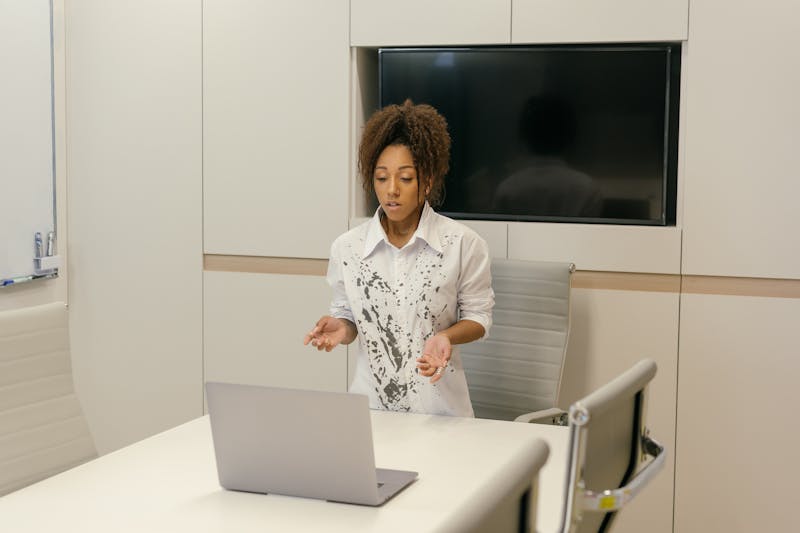
We have all lived through that specific brand of panic. You click "Join Meeting," the interface loads, and suddenly you are staring at a grainy, out-of-focus blob that supposedly represents your face. Maybe the lighting makes you look like a suspect in an interrogation room. Or worse, the camera is angled so sharply upward that colleagues are treated to an unflattering view of your nostrils and ceiling fan. It happens right away. There is no time to fix it without awkwardly asking everyone to wait while you fiddle with settings. That initial impression? It sticks.
Relying on default configurations is a gamble you cannot afford to take when your professional reputation is on the line. Most operating systems and conferencing tools come with auto-settings that are merely "functional," not optimal. They often fail to align with the unique physical constraints of your workspace. To avoid this digital embarrassment, you need to carry out a proactive verification workflow before the meeting starts. This isn't about being vain; it is about ensuring your technical setup does not become a distraction from your actual message.
Step 1: Force Resolution Verification Beyond Auto-Detect
The first thing you must handle is resolution validation. Do not just assume your webcam is broadcasting at its maximum capability because the software says "HD." Many video conferencing platforms will aggressively downscale your feed to save bandwidth, especially if they detect even minor network fluctuation. This results in a pixelated mess that obscures facial expressions and makes you appear distant or disengaged.
You need to perform configuration for your camera output manually. Open your system's native camera application or the specific settings panel within your conferencing tool—whether that is Zoom, Teams, or Google Meet—and look for the video quality toggle. If the option exists, force it to 1080p or whatever the highest supported resolution is for your hardware. Do not leave this on "Auto." Auto modes often prioritize frame rate over clarity, sacrificing sharpness for smoothness in a way that looks terrible on static shots.
Check the output critically. Is the text on the whiteboard behind you legible? Can people see the details in your eyes? If the image looks soft or blocky, you might need to close other bandwidth-heavy applications running in the background. Sometimes, simply restarting the video driver can make the system re-negotiate a better handshake with the conferencing server. It is a small step, but carrying out this manual check ensures you are not unknowingly broadcasting a low-fidelity version of yourself.
Step 2: Execute Manual Focus Calibration for Clarity
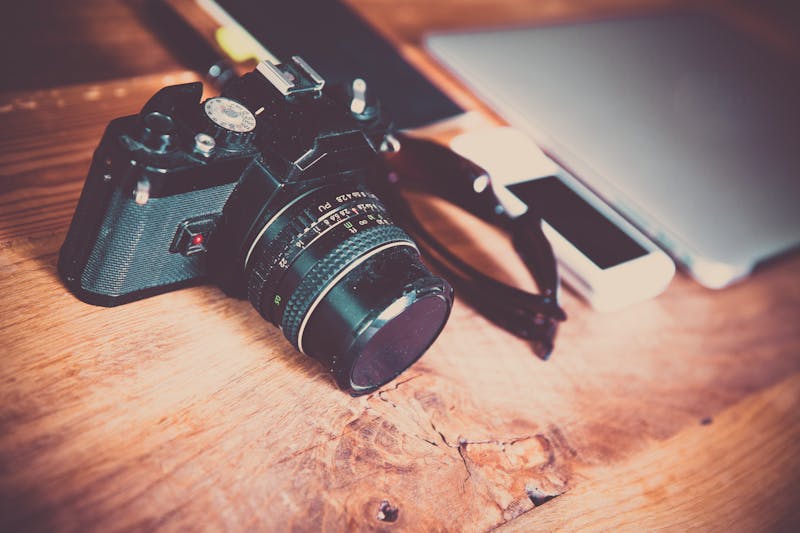
Here is a hard truth: autofocus lenses on webcams are often terrible at their job. They hunt. They breathe. They decide that the plant in the background is more important than your face, shifting focus right as you start speaking. Relying on continuous autofocus during a high-stakes call is inviting disaster. The underlying reason for this failure is usually poor contrast detection in typical home office lighting conditions.
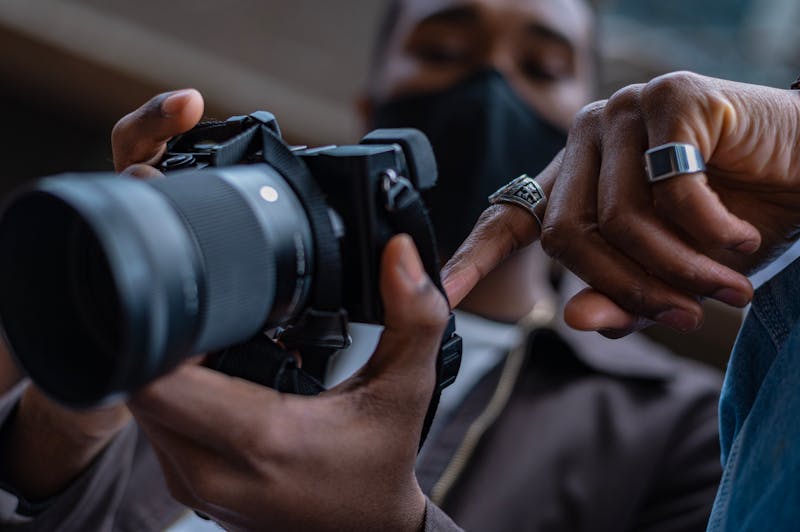
Instead of letting the camera guess, you should perform manual focus adjustment whenever your hardware supports it. Some premium webcams come with a physical ring around the lens; others require you to lock focus via software controls. If you have a physical ring, turn it slowly while watching the preview until your features snap into crisp definition. Hold still. Let the sensor settle. Once it looks sharp, stop touching it.
What if your camera lacks a manual ring? You can still trick the system. Place a high-contrast object exactly where your face will be—like a printed sheet of paper with bold text. Let the camera lock onto that. Then, without moving the camera, swap the paper for your face. The focal plane should remain aligned. If the camera insists on hunting for focus every time you move, consider taping a small piece of opaque material over the autofocus sensor if it has one, forcing it to stay fixed at the last known good distance. This prevents that annoying pulsing effect where your face goes blurry and sharp repeatedly, which is incredibly distracting to viewers.
Step 3: Perfect Framing and Lighting Alignment
Resolution and focus mean nothing if your framing is off or the lighting washes you out. The goal here is to achieve a composition that feels natural yet professional. You want the camera lens to be at eye level, not below it. Looking down at a laptop screen creates that double-chin angle that nobody likes. Use a stack of books or a dedicated stand to elevate your device until the lens aligns horizontally with your eyes.
Once the height is correct, check the horizontal framing. Your head should occupy the upper third of the screen, with a modest amount of headroom above you. You want to show your shoulders and a bit of your torso, not just a floating head. This provides context and allows for natural hand gestures, which help convey enthusiasm and emphasis during conversation.
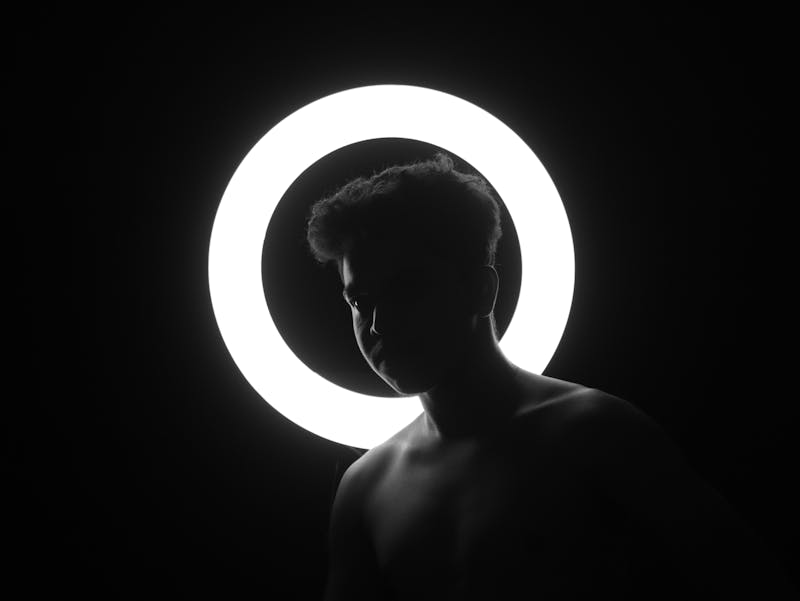
Then, address the lighting. This is where most people fail. Never sit with a bright window directly behind you; you will become a silhouette. The light source needs to be in front of you, illuminating your face evenly. Natural light from a window in front works well, but direct sunlight can cause harsh shadows. A soft, diffused lamp placed near the monitor often yields better consistency. If you have a ring light, use it, but dial down the intensity so you do not look like an alien. The objective is to eliminate deep shadows under your eyes and nose while maintaining enough contrast to define your facial structure.
Carry out a final test recording. Record thirty seconds of yourself speaking normally. Watch it back. Does the audio sync with your lips? Does the color look natural, or is there a weird orange or blue tint? If the white balance is off, adjust it in the camera settings before you join the call. These few minutes of preparation act as a buffer against technical anxiety. When you know your video feed is solid, you can focus entirely on the conversation, the negotiation, or the interview questions.
Stop trusting defaults. Start verifying. Your future self, sitting in that crucial meeting, will thank you for the effort you put in five minutes prior.
Готовы проверить ваши настройки? Только секунды.
Рекомендуемые инструменты
Тест датчиков телефона - Гироскоп и Акселерометр
Полная диагностика встроенных сенсоров смартфона и планшета. Данные гироскопа, акселерометра и ориентации в реальном времени.
Тест демонстрации экрана - Screen Sharing
Симуляция демонстрации экрана для онлайн-конференций. Проверка разрешений браузера, шаринга окон и системного звука перед важной встречей.
Web Bluetooth сканер и тест соединения
Сканирование Bluetooth устройств через браузер (Web Bluetooth API). Проверка подключения, сопряжения и передачи данных (требуется поддержка оборудования).
Тест наушников и динамиков - Левый/Правый канал
Профессиональный тест аудиоустройств. Точная проверка баланса левого и правого каналов, басов и искажений звука в наушниках или колонках.
Датчик освещенности (Lux) - Тест
Чтение данных с датчика освещенности (Lux) в реальном времени. Проверка работы автояркости на телефоне или ноутбуке.
Тест скорости и стабильности сети (Ping)
Онлайн-проверка стабильности интернет-соединения. Мониторинг Ping, джиттера и потери пакетов в реальном времени. Диагностика лагов в играх и буферизации видео.