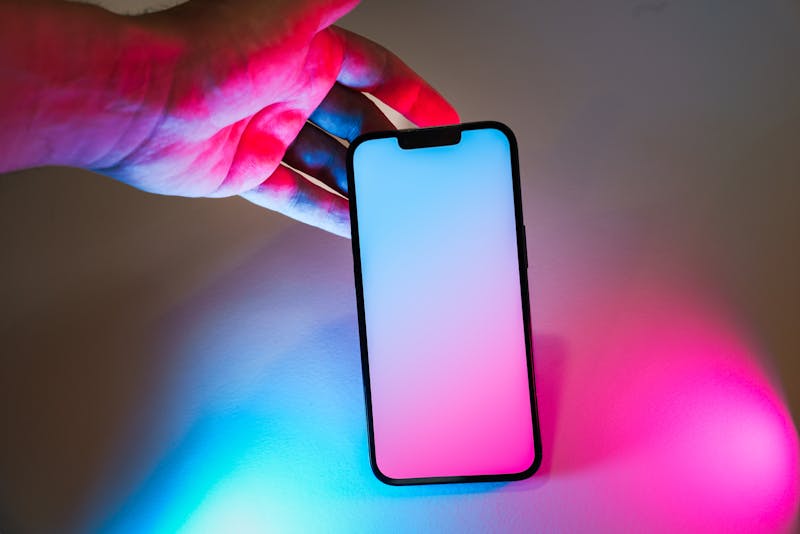
Is Your Screen Haunted? How to Diagnose Ghost Touches and Dead Zones Before Buying Used
You hand over cash for a "mint condition" tablet, swipe to unlock, and feel it. That tiny, phantom tap registering where your finger isn't. Or worse, you drag an icon across the glass and it just stops, stuck in a digital swamp while the rest of the screen works fine. These aren't software quirks you can patch out with a reboot. They are hardware ghosts haunting the digitizer layer, and they turn a bargain into a brick faster than you can say "return policy."
Most buyers rely on looking at the glass. They check for cracks. They inspect for scratches. They assume that if the display looks perfect, the touch input must be perfect too. That assumption is dangerous. A screen can look pristine while the underlying capacitive grid is fractured, disconnected, or suffering from interference that only reveals itself under specific pressure or multi-touch scenarios. You need to stop guessing and start performing active diagnostic work on the touch layer before you commit to the purchase.
The solution lies in leveraging a dedicated multi-touch detector tool rather than relying on the device's native interface. Standard menus hide the raw data stream coming from the digitizer. You cannot see the noise floor or the exact coordinate mapping through the settings app. Instead, you must employ a specialized utility designed to visualize every single contact point in real time. This approach allows you to carry out observation of how the hardware handles simultaneous inputs, which is where ghost touches and dead zones usually expose their true nature.
Start by granting the necessary permissions to the diagnostic application. Modern operating systems often sandbox input data for security reasons, so the tool will explicitly ask for access to pointer events or overlay capabilities. Do not skip this step. Without full permission grants, the app might only report partial data, giving you a false sense of security. Once you have performed configuration for access, the interface should light up with a grid or a blank canvas ready to receive your touch.
Now comes the critical phase: running live gesture checks to map sensitivity across the entire surface. Do not just tap randomly. You need to execute a systematic sweep. Drag ten fingers across the screen simultaneously if the device supports it. Watch closely as the tool renders each contact point. Are all ten dots appearing instantly? Do they track your movement without jitter? If you see an eleventh dot appear out of nowhere, you have confirmed a ghost touch event. This phantom input indicates electrical interference or a short circuit within the digitizer matrix, a flaw that will drive you insane when you try to type or game later.

Meanwhile, you must also hunt for the silent killer: the dead zone. While dragging your finger in slow, deliberate circles from edge to edge, pay attention to any area where the tracking dot vanishes or stutters. A healthy screen maintains a continuous stream of coordinate data. A damaged one drops packets. You might find a strip near the home button or a patch in the upper corner where the touch register simply ceases to function. This is not a calibration error; it is a physical break in the conductive layers. No amount of software tweaking will recover those lost pixels.
Differentiating between a temporary software glitch and permanent hardware failure requires stress testing. Sometimes, a dirty screen or a cheap charger causes erratic behavior that mimics hardware death. Clean the glass thoroughly and disconnect any power sources, then repeat the gesture validation work. If the ghost touches persist or the dead zone remains fixed in the same location despite a clean surface and battery power, the diagnosis is clear. The digitizer assembly is compromised. Walking away from that deal is the only logical move.

For the gamers among us, latency matters just as much as accuracy. Use the tool to perform rapid tapping sequences in a single spot. Observe the timestamp delta if the tool provides it, or simply watch the visual feedback. Does the dot appear the millisecond you make contact? Or is there a noticeable lag, a hesitation that suggests the controller is struggling to process the input queue? High latency ruins competitive play and makes stylus work feel like drawing in mud. A used device intended for creative work or high-speed gaming must pass this responsiveness check with flying colors.
Designers verifying stylus precision need to go even deeper. Switch the tool to a mode that highlights pressure sensitivity or tilt data if available. Draw fine lines and tight curves. Look for wobbles or sudden jumps in the line path that do not match your hand movement. These micro-stutters often indicate localized damage to the sensor grid that standard finger tests might miss. The cost of a professional tablet is high; accepting subtle input flaws is throwing money into a void.
Ultimately, buying used hardware is an exercise in risk management. You are trading lower cost for higher uncertainty. The only way to tip the odds back in your favor is to refuse reliance on superficial inspections. By leveraging these diagnostic workflows, you transform the buying process from a gamble into a verified audit. You gain the capability to reject devices with hidden defects right away, saving yourself the headache of returns, repairs, or frustration down the road.
Do not let a shiny exterior fool you. The truth lives in the touch layer. Perform the checks. Map the zones. Validate the response. If the screen fails to align with your expectations during these tests, walk away. There are plenty of other devices out there that do not come with digital baggage. Your next purchase should be smooth, responsive, and entirely free from ghosts.
Preparado para testar suas configurações? Apenas segundos.
Ferramentas recomendadas
Teste de Fones e Caixas de Som - Esquerda/Direita
Ferramenta profissional para testar canais de áudio (estéreo). Verifique o equilíbrio esquerda/direita, graves e distorção em fones de ouvido e alto-falantes.
Teste de Decodificação de Vídeo - 4K/8K e Performance
Avalie a capacidade do seu navegador e dispositivo para reproduzir vídeos 4K/8K. Identifique travamentos (stutter), perda de frames e dessincronia de áudio/vídeo.
Teste de Conexão e Scan Bluetooth Web
Utilize a API Web Bluetooth para escanear dispositivos próximos. Teste emparelhamento, conexão e transferência de dados via navegador (requer hardware compatível).
Teste de Webcam Online - Verificação de Vídeo/Câmera
Verifique rapidamente se sua webcam está funcionando. Teste nitidez, resolução e foco. Suporte a espelhamento e captura de fotos para testes antes de reuniões.
Teste de Sensores - Giroscópio e Acelerômetro
Check-up completo dos sensores do celular ou tablet. Leitura em tempo real do giroscópio, acelerômetro e sensores de movimento do dispositivo.
Teste de Vibração e Motor do Celular
Verifique se o motor de vibração do seu celular está funcionando. Teste diferentes padrões (contínuo, pulso) e a intensidade do feedback tátil.