Why Your Screen Won't Adjust: A Practical Guide to Ambient Light Sensor Testing
Your screen stays dim in broad daylight, or it blasts full brightness in a darkened room. It's not magic; it's a broken feedback loop. The ambient light sensor, that tiny photodiode hiding behind your bezel, has stopped carrying out the essential work of translating photons into actionable data for your display controller. When this component fails to perform its measurement duties, the operating system defaults to a static state, leaving you squinting or straining your eyes.
Most users assume this is a software glitch and immediately hunt for a toggle switch. They dig through settings menus, toggling "Auto-Brightness" off and on again, hoping to force a reset. This approach rarely works because the underlying reason often lies deeper than a simple configuration flag. The sensor might be physically obstructed, the driver could be failing to process incoming signals, or the calibration curve itself has drifted out of alignment with reality.
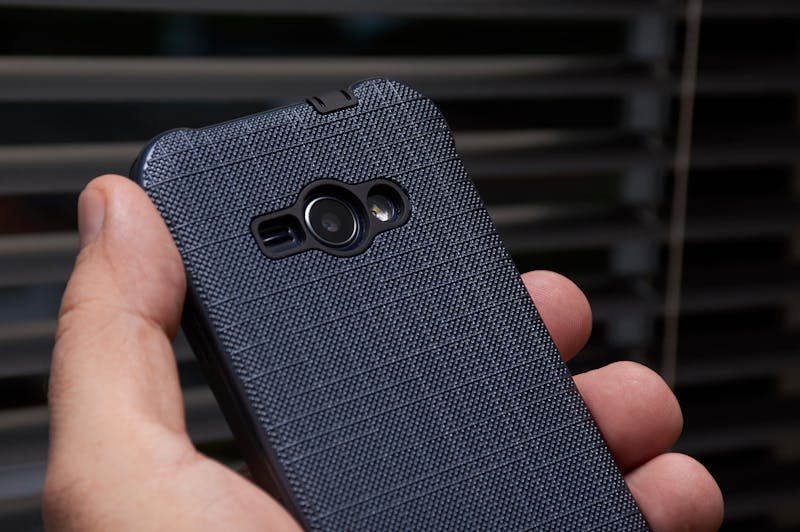
Consider the physical reality of these devices. Manufacturers embed the sensor in narrow strips of glass or plastic, often right next to the earpiece speaker. A smudge of fingerprint oil, a layer of dust, or even a poorly applied screen protector can interfere with the light transmission path. If the sensor cannot receive light accurately, it cannot carry out interaction with the environment effectively. The device isn't ignoring you; it's blindfolded.
In classroom deployments or outdoor field work, we see this failure mode constantly. A fleet of tablets arrives, and half of them refuse to adjust when moved from a shaded hallway into direct sunlight. The IT team spends hours pushing over-the-air updates, believing a patch will fix the logic. Meanwhile, the actual culprit is a batch of screen protectors that block ultraviolet or specific infrared wavelengths the sensor relies on to gauge intensity. The hardware is fine, but the input data is garbage.
You need to stop guessing and start measuring. Validating sensor performance requires moving beyond subjective feelings of "too bright" or "too dark." You need hard numbers. Lux is the unit of illuminance that quantifies how much light hits a surface, and your device should be reporting this value in real time. Without access to raw Lux data, you are flying blind, trying to diagnose a precision instrument with vague impressions.

Forget expensive benchtop equipment for initial triage. Modern smartphones come with developer options and third-party diagnostic tools that allow you to view sensor streams directly. By leveraging apps designed for hardware analysis, you can observe the raw output of the ambient light sensor as you move the device through different lighting conditions. Watch the numbers climb as you point the phone at a window. See them drop when you cover the top bezel with your hand.
If the numbers stay flat while the lighting changes drastically, the sensor is dead or disconnected. If the numbers jump erratically without any change in the environment, you are likely dealing with electrical noise or a failing driver that cannot process the signal correctly. Sometimes the values exist but seem wrong; a reading of 50 Lux in direct noon sun indicates a severe calibration drift. The sensor sees light, but it misinterprets the intensity to a significant extent.
This brings us to a three-step workflow that cuts through the noise. First, isolate the variable. Remove any case, clean the bezel thoroughly with a microfiber cloth, and strip off temporary screen protectors. You must ensure the optical path is clear before performing any further diagnosis. Second, engage the diagnostic mode. On Android, this often means digging into the "Sensor Test" menu within the engineering mode or using a dedicated hardware info app. On iOS, you might need to rely on accessibility shortcuts or specific support profiles that expose telemetry.
Third, map the response curve. Take the device from a dark closet (near 0 Lux) to a well-lit office (around 500 Lux) and then outside (10,000+ Lux). Record the screen brightness percentage at each stage. A healthy system performs a smooth, gradual adjustment. It does not snap instantly from minimum to maximum. If your screen jumps abruptly or lags by several seconds, the algorithm responsible for smoothing these transitions is malfunctioning. The logic that dictates how quickly the display should react to changing conditions might be stuck in a loop or waiting for a confirmation signal that never arrives.
Software updates can sometimes restore proper function if the issue stems from a buggy driver update that broke the communication channel between the sensor and the power management IC. Flashing a previous firmware version or applying a vendor-specific patch might make the recovery of normal operation possible. However, if the raw Lux readings remain zero or nonsensical after a factory reset and a clean OS install, you are facing a hardware defect. The component itself needs replacement.
Don't let the convenience of automation hide the mechanical simplicity of the system. It's just a light meter telling a dimmer switch what to do. When that conversation breaks down, you have to listen to both sides of the line. By carrying out these manual verification steps, you stop wasting time on phantom software bugs and address the actual bottleneck. Whether it's a dirty lens, a bad driver, or a fried chip, the data tells the truth faster than any setting menu ever could.
Ready to test your settings? Just seconds.
Recommended Tools
Mobile Sensor Test - Gyroscope & Accelerometer
Comprehensive check for mobile sensors. Read real-time data from gyroscopes, accelerometers, and orientation sensors to verify motion sensitivity.
Mic Tester — #1 Free Online Microphone Test & Recorder
The most trusted free online microphone test. Instantly check your mic for sound quality, echo, and background noise. Real-time waveform visualization, one-click recording, and playback. No install required. 100% private.
Phone Vibration & Haptics Test
Online check for your phone's vibration motor. Offers continuous, pulse, and pattern modes to test haptic feedback strength and responsiveness.
Headphone & Speaker Test - Left/Right Stereo Check
Professional audio output test. Accurately check Left/Right stereo balance, bass response, and distortion on headphones and speakers to ensure optimal sound quality.
Dead Pixel & Light Leakage Test
Use solid colors, gradients, and grids to examine screens for dead pixels, stuck pixels, and backlight bleeding. Essential for checking new monitors and phones.
Web Bluetooth Scanner & Connection Test
Use the Web Bluetooth API to scan for nearby devices. Test browser connectivity, pairing, and data transfer capabilities (requires compatible hardware).