Silent Side: How to Diagnose and Fix One-Sided Audio Issues Before Your Big Presentation
You hit "Share Screen." The room goes quiet. Then, a voice from the back asks if anyone else can hear the right channel. They can't. It's just silence on that side while your left speaker pumps out audio at full volume. That sinking feeling in your gut? It's avoidable. Most presenters treat audio like an afterthought, assuming the operating system handles stereo separation automatically. It often doesn't. When you rely on default settings without performing verification of signal paths, you invite disaster.
The underlying reason for one-sided audio usually isn't a blown speaker. It's a misconfiguration buried deep in the chain between your source file and the output device. Maybe a cable got kicked under the desk, breaking the tip-ring-sleeve connection. Perhaps the conference room mixer has a pan knob twisted hard to the left. Or maybe your laptop decided to route everything through a mono stream because it detected a "headset" instead of "speakers." These failures happen right away if you don't carry out inspection work beforehand.
Stop guessing. Start testing with intent.
The Three-Step Verification Routine
You need a workflow that forces the system to reveal its flaws before the audience does. This isn't about playing a song and nodding along. It requires active probing of each channel independently.
1. Isolate the Channels Explicitly
Don't just play a track. Use a test tone generator or a dedicated stereo check file that alternates sound between left and right. You must perform separation of the signals. If your tool sends a 1kHz sine wave to the left ear only, then switches to the right, any imbalance becomes obvious immediately. Watch the meters. If the right-side meter stays dead while the left one jumps, you have a break in the chain.
Many people skip this because they think music covers everything. Music masks defects. A dense mix with heavy bass and overlapping frequencies hides a dead channel until someone specifically listens for it. By leveraging isolated tones, you make the invisible visible.
2. Carry Out Inspection of Physical Connections
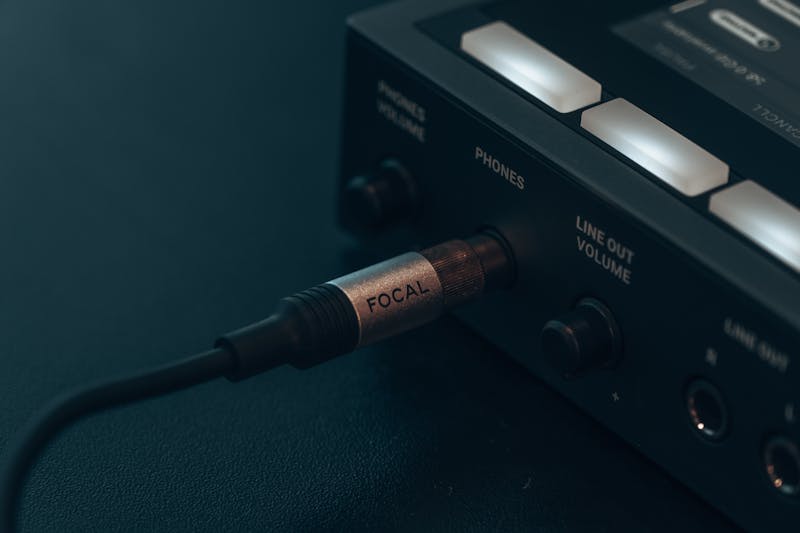
Cables fail silently. A TRS (Tip-Ring-Sleeve) plug might look seated but actually sit slightly loose, causing the ring contact—which carries the right channel—to disconnect. This happens constantly in hotel conference rooms where equipment gets swapped daily. Wiggle the jack gently while your test tone plays. If the audio cuts in and out, the port is dirty or the cable is frayed inside the shielding.
Replace the suspect component right away. Do not try to "work around" a bad cable by panning your entire mix to the left. That looks unprofessional and frustrates listeners wearing headphones who expect proper stereo imaging. Perform replacement of the hardware to ensure integrity.
3. Validate Software Routing and Balance Settings
Operating systems love to "help" by auto-switching audio profiles. Windows might detect a headset and force mono output to save bandwidth or mimic a phone call. macOS sometimes routes audio incorrectly when external DACs are involved. You need to open your sound control panel and perform configuration of the balance slider. Ensure the Left/Right fader sits exactly in the center.
Check the application level too. Your video conferencing software often has its own internal mixer separate from the OS. If Zoom or Teams is set to use a specific input device that only supports mono, no amount of system tweaking will fix the output. Make sure the selected output device in the app matches the physical hardware you are testing. Align the software setting with the physical reality.
Why Bass and Distortion Matter Too
Stereo balance is the big one, but it's not the only failure point. Sometimes both channels work, but the sound is muddy or clipped. This occurs when gain staging is off. If your microphone input level is pushed too high, the preamp clips the signal, introducing harsh distortion that makes speech unintelligible.
Carry out management work for your gain levels. Speak at your normal presentation volume while watching the input meter. Aim for peaks around -6dB to -3dB. Never let the meter hit 0dB consistently. That red zone means you are losing data permanently. At the same time, check bass response. Small laptop speakers often roll off low frequencies entirely, making your voice sound thin. If the room has a subwoofer or larger monitors, verify that the low end doesn't boom excessively, drowning out consonants.

The Cost of Skipping the Check
Imagine standing there, twenty minutes into a pitch, realizing half the room hasn't heard a word you said because the right channel died five minutes ago. You lose momentum. Trust erodes. The audience stops focusing on your message and starts wondering why the tech is broken.
This isn't just about avoiding embarrassment. It's about respecting your audience's time and cognitive load. When audio is clear, balanced, and distortion-free, communication flows naturally. Listeners don't have to strain to decipher your words. They can focus on the ideas you are presenting.
Integrate this three-step routine into every single prep session. Treat it as non-negotiable as checking your slide deck. Plug in. Isolate channels. Verify connections. Adjust balance. Do this every time, regardless of how familiar the venue seems. Equipment changes. Cables degrade. Settings reset. Only consistent testing guarantees performance.
Your voice matters. Make sure it reaches everyone, equally and clearly. Don't let a silent right side undermine hours of preparation. Take control of the signal path before you hit that share button.
Ready to test your settings? Just seconds.
Recommended Tools
Mobile Sensor Test - Gyroscope & Accelerometer
Comprehensive check for mobile sensors. Read real-time data from gyroscopes, accelerometers, and orientation sensors to verify motion sensitivity.
Mic Tester — #1 Free Online Microphone Test & Recorder
The most trusted free online microphone test. Instantly check your mic for sound quality, echo, and background noise. Real-time waveform visualization, one-click recording, and playback. No install required. 100% private.
HDR Display Capability Test
Check if your monitor or mobile screen supports HDR (High Dynamic Range). Visually compare SDR vs. HDR colors and test screen brightness and color depth.
Browser Push Notification Test
Test Web Push functionality online. Verify browser and OS notification permissions. Send custom test messages to troubleshoot issues with receiving alerts.
Screen Sharing Test - Browser Capabilities
Simulate an online meeting environment to test browser screen sharing permissions and quality. Verify window sharing, full-screen sharing, and system audio capture.
Online GPS & Geolocation Accuracy Test
Retrieve current device coordinates. Test the accuracy of GPS and IP-based geolocation. View latitude, longitude, altitude, and position update speed.