Silence on One Side? The Ultimate Guide to Diagnosing Stereo Imbalance
You hit play, expecting a wall of sound, and instead get a lopsided mess where the vocals vanish into the left ear while the drums hammer away exclusively on the right. It is not just annoying; it breaks the immersion instantly. Most people assume their hardware has died and rush to buy replacements, but the underlying reason for this stereo failure often hides in plain sight, buried under layers of software misconfiguration or a single frayed wire inside a cable jacket.
Let's cut through the noise. Diagnosing audio imbalance requires you to carry out a systematic isolation of variables rather than guessing. You need to perform verification of the signal path from the source file all the way to the driver cone.
Start with the source material itself. Before you touch a single setting or swap a cable, you must confirm that the audio file you are playing actually contains balanced data. Many users overlook the fact that a poorly mixed track or a corrupted video file can exhibit channel drift by design or error. Load a known-good reference track, something like a dedicated stereo test tone or a high-fidelity recording you have verified on multiple systems. If that reference track sounds centered and full, then the issue lies downstream. If the reference track also leans heavily to one side, you are looking at a system-wide configuration problem or a hardware fault.
Do not skip this step. Skipping source verification leads to wasted hours tweaking settings that were never the key driver of the problem.
Next, you need to carry out inspection of the physical connections. Cables fail in subtle ways. A standard 3.5mm jack or an RCA connector might look pristine on the outside while the internal shielding has separated or the ground contact has oxidized. This degradation causes one channel to drop out entirely or introduces a significant volume disparity. Wiggle the connector gently at the source end and then at the speaker end while listening for crackles or sudden shifts in balance. If the sound cuts in and out as you manipulate the cable, you have identified the culprit right away. Replace that cable. Do not attempt to repair it; the cost of a new high-quality interconnect is negligible compared to the time spent troubleshooting a intermittent connection.
Sometimes the fault lives inside the operating system. Windows, macOS, and Linux all offer capabilities to adjust channel balance independently, and these settings can get shifted accidentally during updates or when switching between output devices. Navigate to your sound control panel and locate the balance sliders for the left and right channels. Ensure they are both set to the center position, usually marked as zero or 50/50. It sounds obvious, yet I have seen countless "broken" speakers turn out to be a slider dragged to the far left by a stray mouse click. While you are there, check if any audio enhancement software or equalizer presets are active. These tools often come with features that simulate surround sound by attenuating specific frequencies in one channel, which can create the illusion of hardware failure when it is merely aggressive digital signal processing.
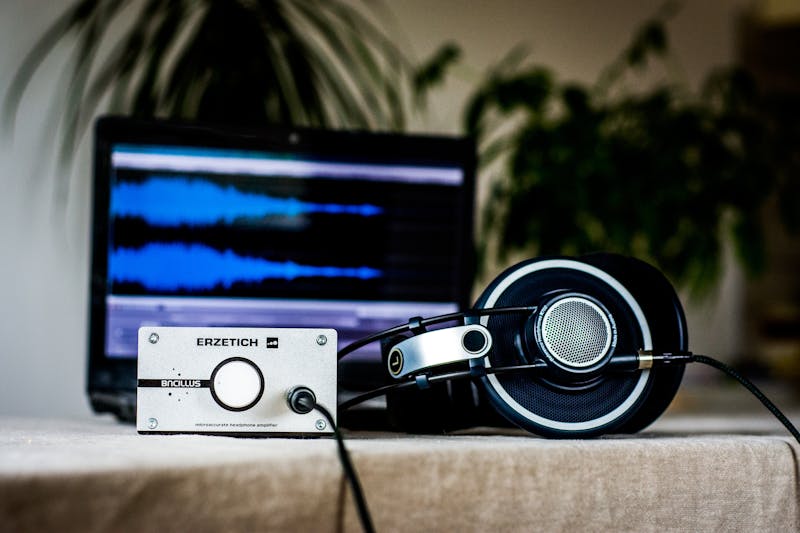
If the software checks out and the cables are solid, the focus shifts to the transducers themselves. Speakers and headphones degrade over time. The voice coil might be partially shorted, or the suspension could be torn, preventing the driver from moving air efficiently. To verify this, you need to perform a direct comparison using a mono signal. Convert your stereo source to mono, either through your player software or by using a test tone generator. When you play a mono signal, identical audio should emerge from both sides with equal intensity. If one side remains quiet or distorted while the other blasts clearly, you have confirmed a hardware asymmetry in the output device.
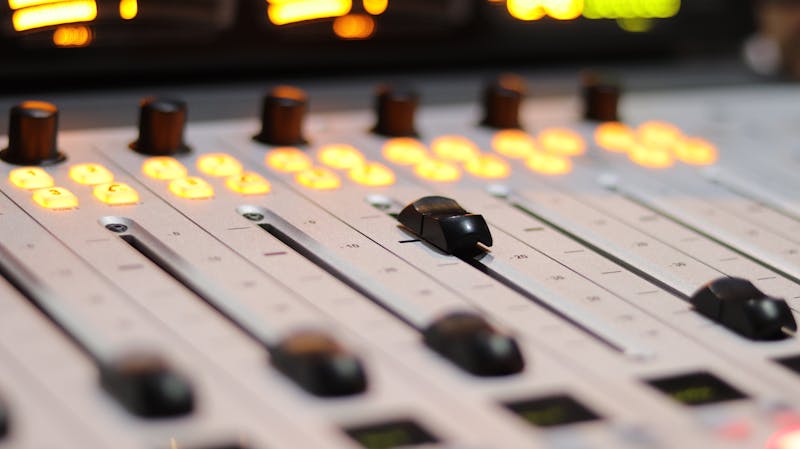
For those digging deeper into professional setups, consider the role of the amplifier or interface. An unbalanced load or a failing capacitor in the amplification stage can cause one channel to clip earlier than the other or deliver less power overall. Use a multimeter to measure the voltage output at the speaker terminals while playing a steady sine wave. Compare the readings between the left and right outputs. A discrepancy here points directly to the electronics rather than the speakers. This approach allows you to make a data-driven decision about whether to service the amp or replace the drivers.
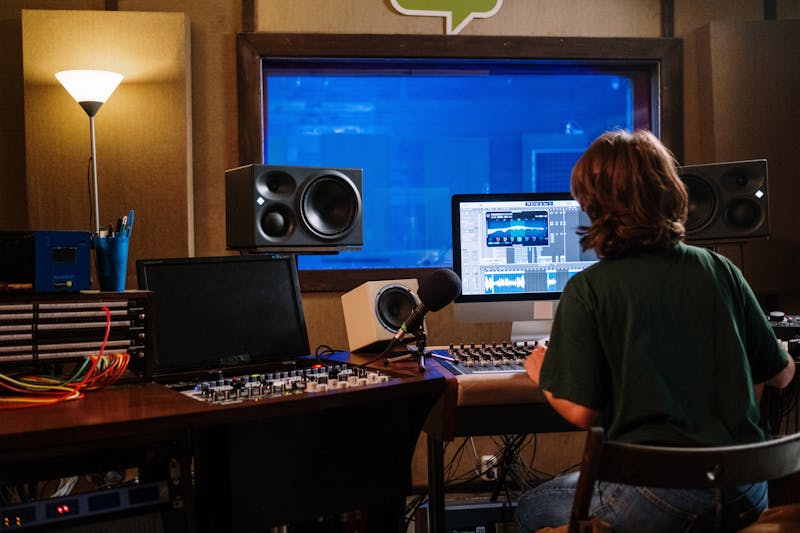
Gamers and podcasters face unique stakes here. In competitive gaming, directional audio is not a luxury; it is a tactical necessity. Missing a footstep because your right channel is down ten decibels means losing the match. Podcasters broadcasting live cannot afford to have their voice vanish from one side of the listener's headset, as it signals amateurism and ruins the production value. For these use cases, relying on visual meters is essential. Employ a DAW (Digital Audio Workstation) or a dedicated analyzer plugin to watch the correlation meter and phase scope in real time. These tools provide immediate visual feedback if the stereo image is collapsing or if one channel is dominating the mix.
Distortion often masquerades as imbalance. When a driver begins to fail, it may produce harmonic distortion that masks the intended frequencies, making that side sound "muddy" or quieter even if the volume level is technically correct. Listen closely for harshness or rattling at higher volumes. If you detect this, lower the gain immediately to prevent further damage. Pushing a damaged speaker only accelerates its demise. Perform recovery of the system integrity by isolating the faulty component and taking it offline until you can execute a replacement.
Do not fall for the misconception that Bluetooth devices are immune to these issues. Wireless transmission introduces its own layer of complexity. Interference from other 2.4GHz devices can cause packet loss that affects one channel more severely than the other, especially if the antenna placement in the headphone cup is compromised. Resetting the pairing, moving closer to the source, or checking for firmware updates for the specific headset model can resolve these ghostly imbalances. Sometimes the issue is not the hardware at all but the codec negotiation failing between the transmitter and receiver, resulting in a fallback to a lower quality mono stream that gets upmixed poorly.
The ultimate goal is to achieve decoupling of the variables so you can pinpoint the exact link in the chain that is breaking. Is it the file? The OS setting? The cable? The amp? Or the driver? By leveraging this structured approach, you stop throwing money at symptoms and start addressing the root cause.
Silence on one side does not have to be permanent. With a methodical workflow and the willingness to look beyond the obvious, you can restore full fidelity to your setup. Whether you are calibrating a home theater for movie night or ensuring your streaming rig delivers crystal-clear audio to thousands of viewers, the principles remain the same. Test the source, inspect the path, verify the output, and trust your ears but validate with instruments. Your audience, and your own enjoyment, depend on every note playing perfectly across the entire spectrum.
Ready to test your settings? Just seconds.
Recommended Tools
Web Bluetooth Scanner & Connection Test
Use the Web Bluetooth API to scan for nearby devices. Test browser connectivity, pairing, and data transfer capabilities (requires compatible hardware).
Video Capability Test - 4K/8K Decoding Performance
Analyze your browser and device's video decoding performance. Supports 4K/8K playback testing to identify stuttering, dropped frames, artifacts, and A/V sync issues.
Headphone & Speaker Test - Left/Right Stereo Check
Professional audio output test. Accurately check Left/Right stereo balance, bass response, and distortion on headphones and speakers to ensure optimal sound quality.
Network Stability & Latency (Ping) Test
Test your internet connection stability in real-time. Monitor Ping latency, Jitter, and Packet Loss. Quickly diagnose lag in gaming or buffering in videos.
Phone Vibration & Haptics Test
Online check for your phone's vibration motor. Offers continuous, pulse, and pattern modes to test haptic feedback strength and responsiveness.
Screen Refresh Rate (Hz) Test
Instantly check your screen's real-time refresh rate (FPS). Verify if 120Hz, 144Hz, or 240Hz high refresh modes are active and check for smooth motion.